Who this is for
You want another system — a reporting dashboard, an ERP, a data warehouse — to read or write Qooling data. This article covers how to get access: credentials, a token, and where the reference documentation lives. It does not repeat the reference documentation itself, which is always more current than any article.
By the end you will have a client ID and secret, a working bearer token, and the endpoint documentation open in front of you.
1. Where the documentation lives
The full API reference is published in Qooling itself, at **https://app.qooling.com/documentation**. It opens on Version 3 (Latest), which is where new integrations should be built. Versions 1 and 2 are still selectable for existing integrations; version 1 is deprecated.

The version selector at the top of the API documentation
Everything endpoint-specific lives there: what each endpoint does, every field it returns, what each id refers to, how custom fields are named and structured, and the current rate limits.
You must be signed in to Qooling to open it. The documentation is not a public website — an unauthenticated visitor is sent to the login page. If a third-party integrator is doing the work and is not a Qooling user, either give them a Qooling login or share the relevant pages with them.
2. Test or Live — choose deliberately
Every set of credentials belongs to exactly one environment, and the choice is made once, when the credentials are created.
- Test creates a brand-new, empty Qooling company for the integration to work in. It does not contain your real data. It exists so an integrator can build and validate without touching anything that matters — which also means someone has to create test records there before anything that reads data can be exercised.
- Live points at the company you were signed into when you created the credentials — your real data.
Validating against Test does not grant any access to Live. When the integration is ready, register a second set of credentials with the environment set to Live. Same flow, different credentials.
3. Getting credentials
Open Integrations in the main menu. This is also where the API Documentation → Open shortcut lives.
The Integrations screen, with the client list and the API Documentation shortcut
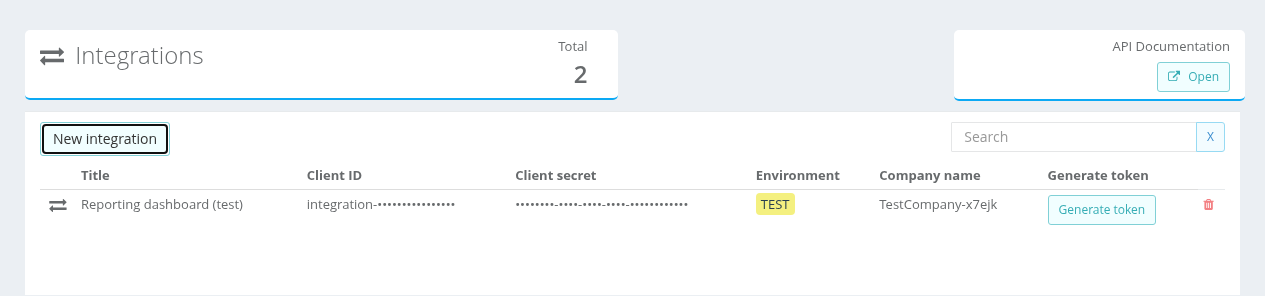
The Integrations screen, with the client list and the API Documentation shortcut
Select New integration, then OAuth API Connector. Give it a title that says what the integration is for, choose the environment, and save.
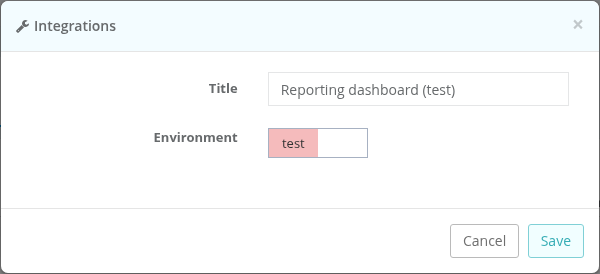
The new connector dialog: a title and an environment switch
The new row shows its Client ID and Client secret. Both stay visible in this table, so you can come back and copy them again later — there is no one-time-only reveal to worry about.
This screen needs the right to edit company settings, so an administrator normally does this step. If you cannot see Integrations in the menu, ask whoever administers your Qooling environment.
When an integration is retired, delete its row from the same table. Its client ID and secret can then no longer be used to request a token.
4. Getting a token
Every call carries a bearer token. There are two ways to get one.
For a quick first test, use Generate token on the credentials row. The dialog reminds you to include the word Bearer in front of the value.
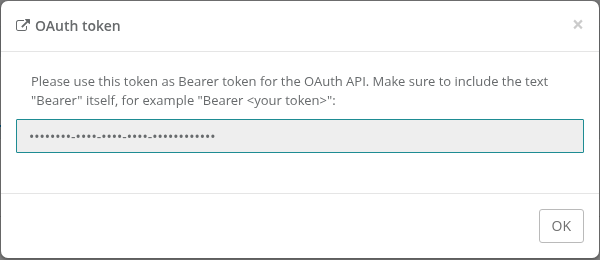
The Generate token dialog
For the integration itself, request one with the client credentials grant:
curl -X POST <https://app.qooling.com/oauth/token> \
  -H 'Authorization: Basic <base64 of clientId:clientSecret>' \
  -H 'Content-Type: application/x-www-form-urlencoded' \
  -d 'grant_type=client_credentials'
Then send the token on every call as an Authorization header:
curl <https://app.qooling.com/rest/v3/users> \
  -H 'Authorization: Bearer <your token>'
If that returns a list of users, the credentials work and you can move on to the endpoints you actually need.
To try calls from the documentation page instead, select Authorize and enter Bearer <your token> — including the word Bearer.
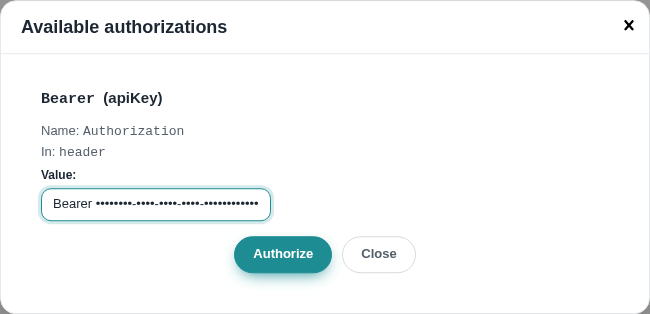
The Authorize dialog on the documentation page
5. What the credentials can and cannot do
- Calls act as the company's integration user, not as the person who created the credentials. Activity done over the API is attributed to that user, not to a colleague.
- The integration user sees the whole company. The group and division restrictions that limit what a person sees in Qooling are not applied to it, and private issues are included. Plan for that when you decide what to pull into another system.
- There is no read-only credential. Every set carries both read and write rights for the modules this API covers — the connector dialog offers no permission options at all. An integration that should only read, such as a reporting dashboard, has to restrict itself to
GETcalls on its own side. - The integration user is not a company administrator. The few endpoints that require that right say so in their description.
6. Rate limits
Qooling applies a usage limit per company, shared across every user and every endpoint of that company. Different operations cost different amounts — a single read is cheap, a bulk import is not. Exceeding the limit returns a clear rate-limit error; wait for the refill interval rather than retrying immediately. It is generous for periodic polling.
The exact figures are configured per environment and can change, so they are published in the Rate limits section of the API documentation rather than here. Read them there before designing anything that polls frequently or imports in bulk.
7. Licensing and commercial terms
Whether your contract covers API use, and on what terms, is not an engineering question. Ask your account manager.
8. Before you contact support
Having these ready will get you an answer much faster:
- Which environment the credentials are for — Test or Live.
- Which API version you are calling — V1, V2 or V3.
- The endpoint, the HTTP method, and the status code you got back.
- Whether the same call works in Test.
- The response body, if there is one.
Was this article helpful?
That’s Great!
Thank you for your feedback
Sorry! We couldn't be helpful
Thank you for your feedback
Feedback sent
We appreciate your effort and will try to fix the article