Follow these steps to set up a digital training, add interactive content, and invite participants.
Step 1: Navigate to the ‘Training’ module
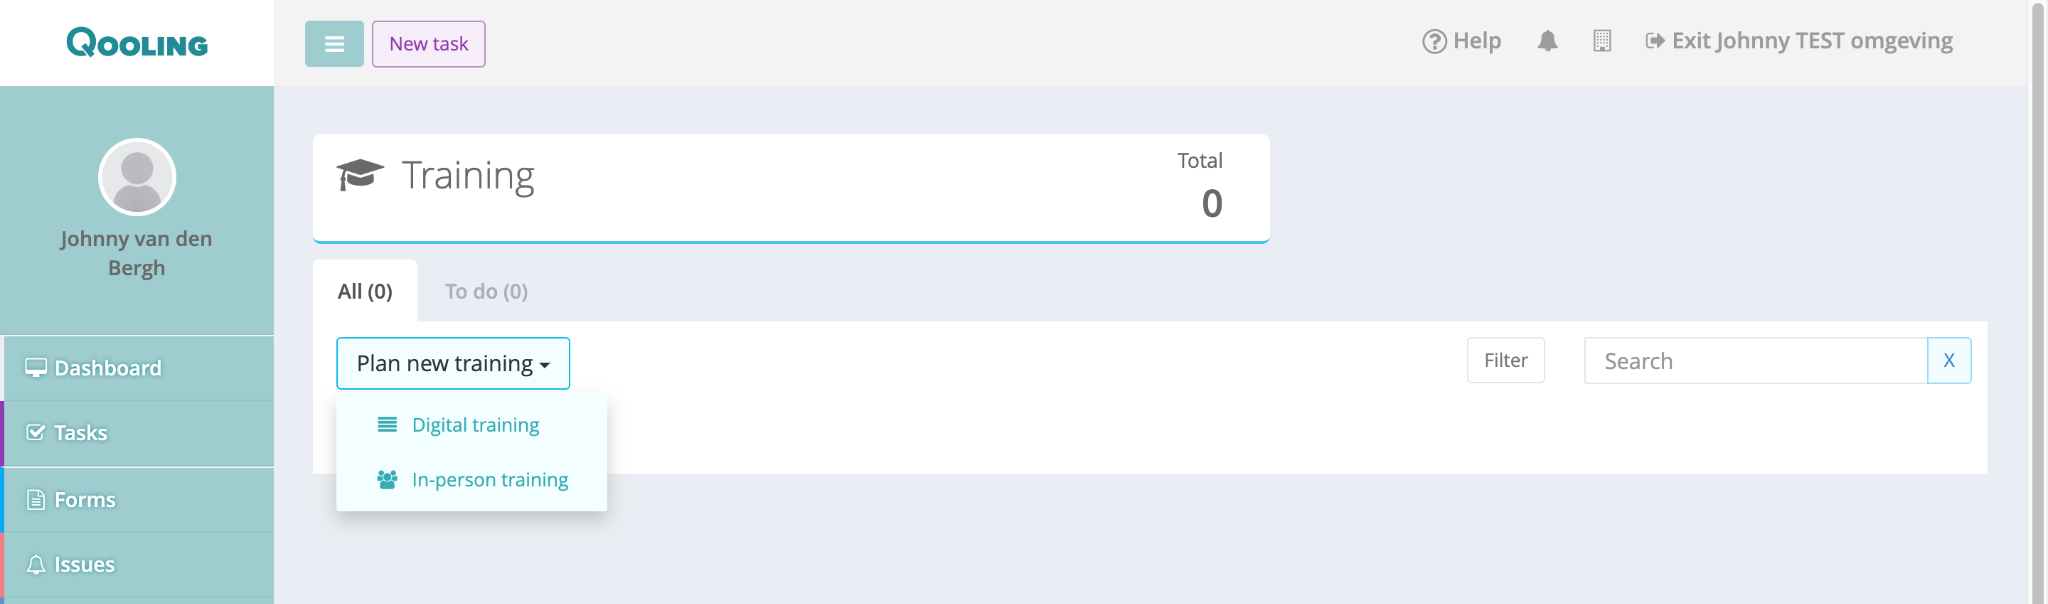
Navigate to the Training section in the left-hand sidebar.
Click on the button Plan new training.
Select Digital training from the dropdown menu.
Step 2: Basic Configuration
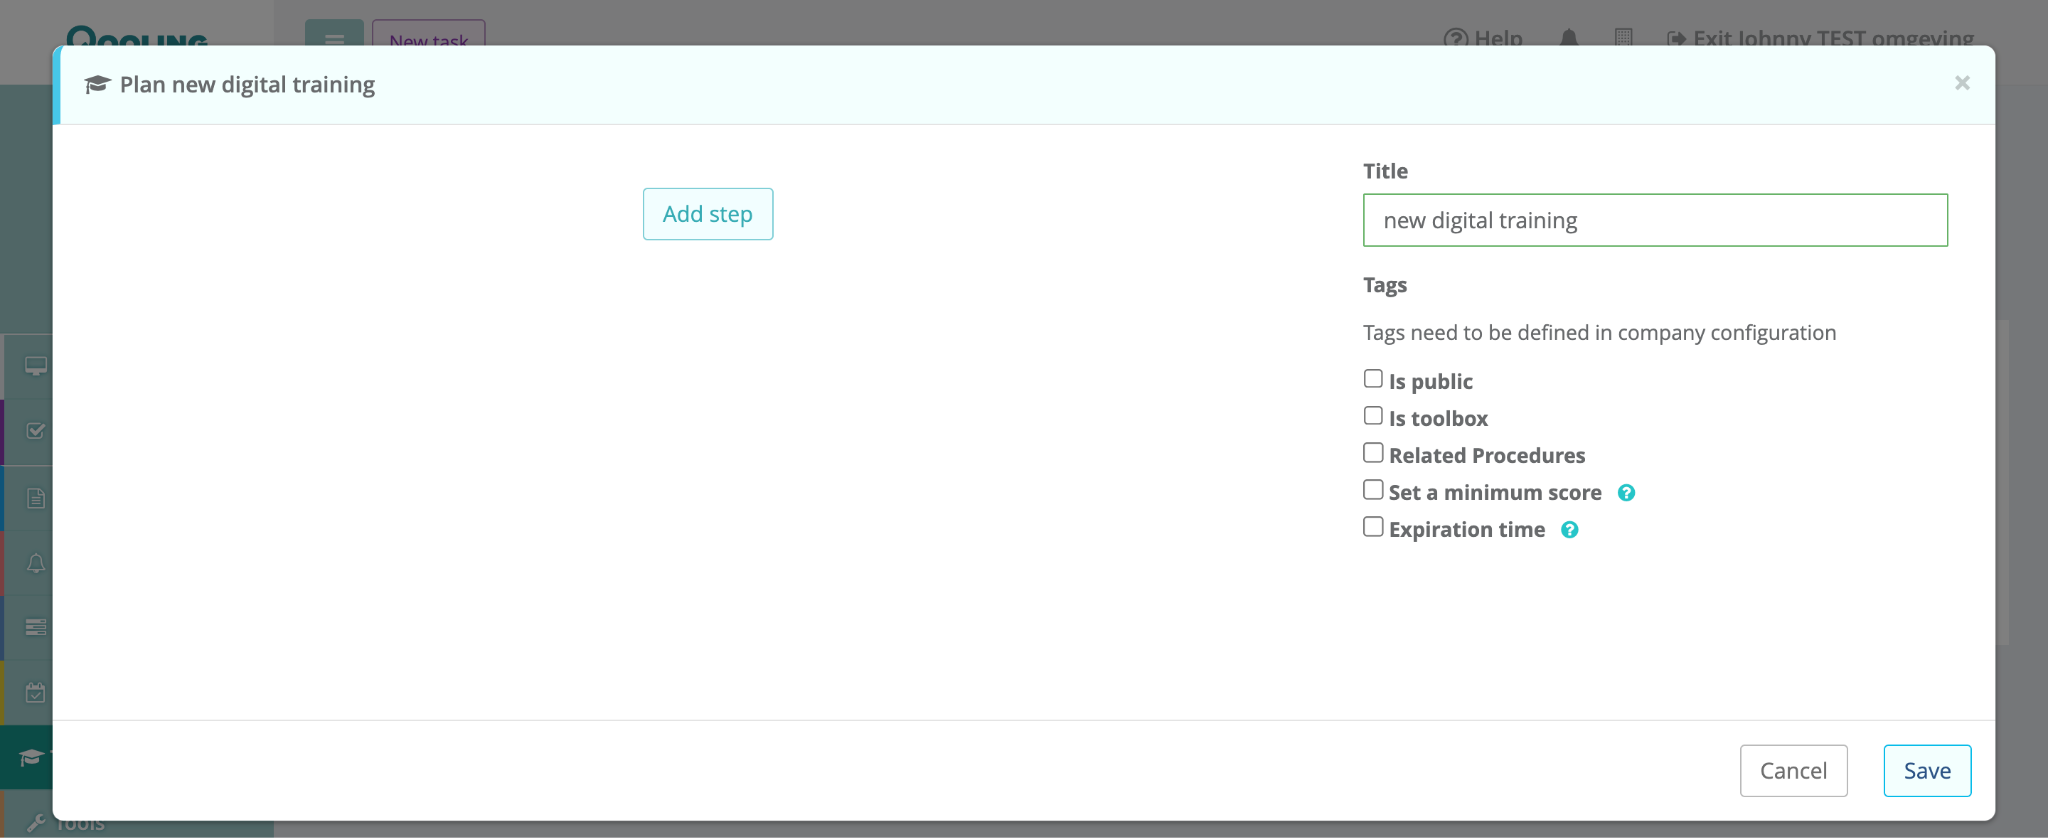
Title: Enter a name for your training in the "Title" field (e.g., "New Digital Training").
Add Steps: Click the Add step button to create the structure of your training. You can add multiple steps depending on the length of your course.
Step 3: Add Content to Steps
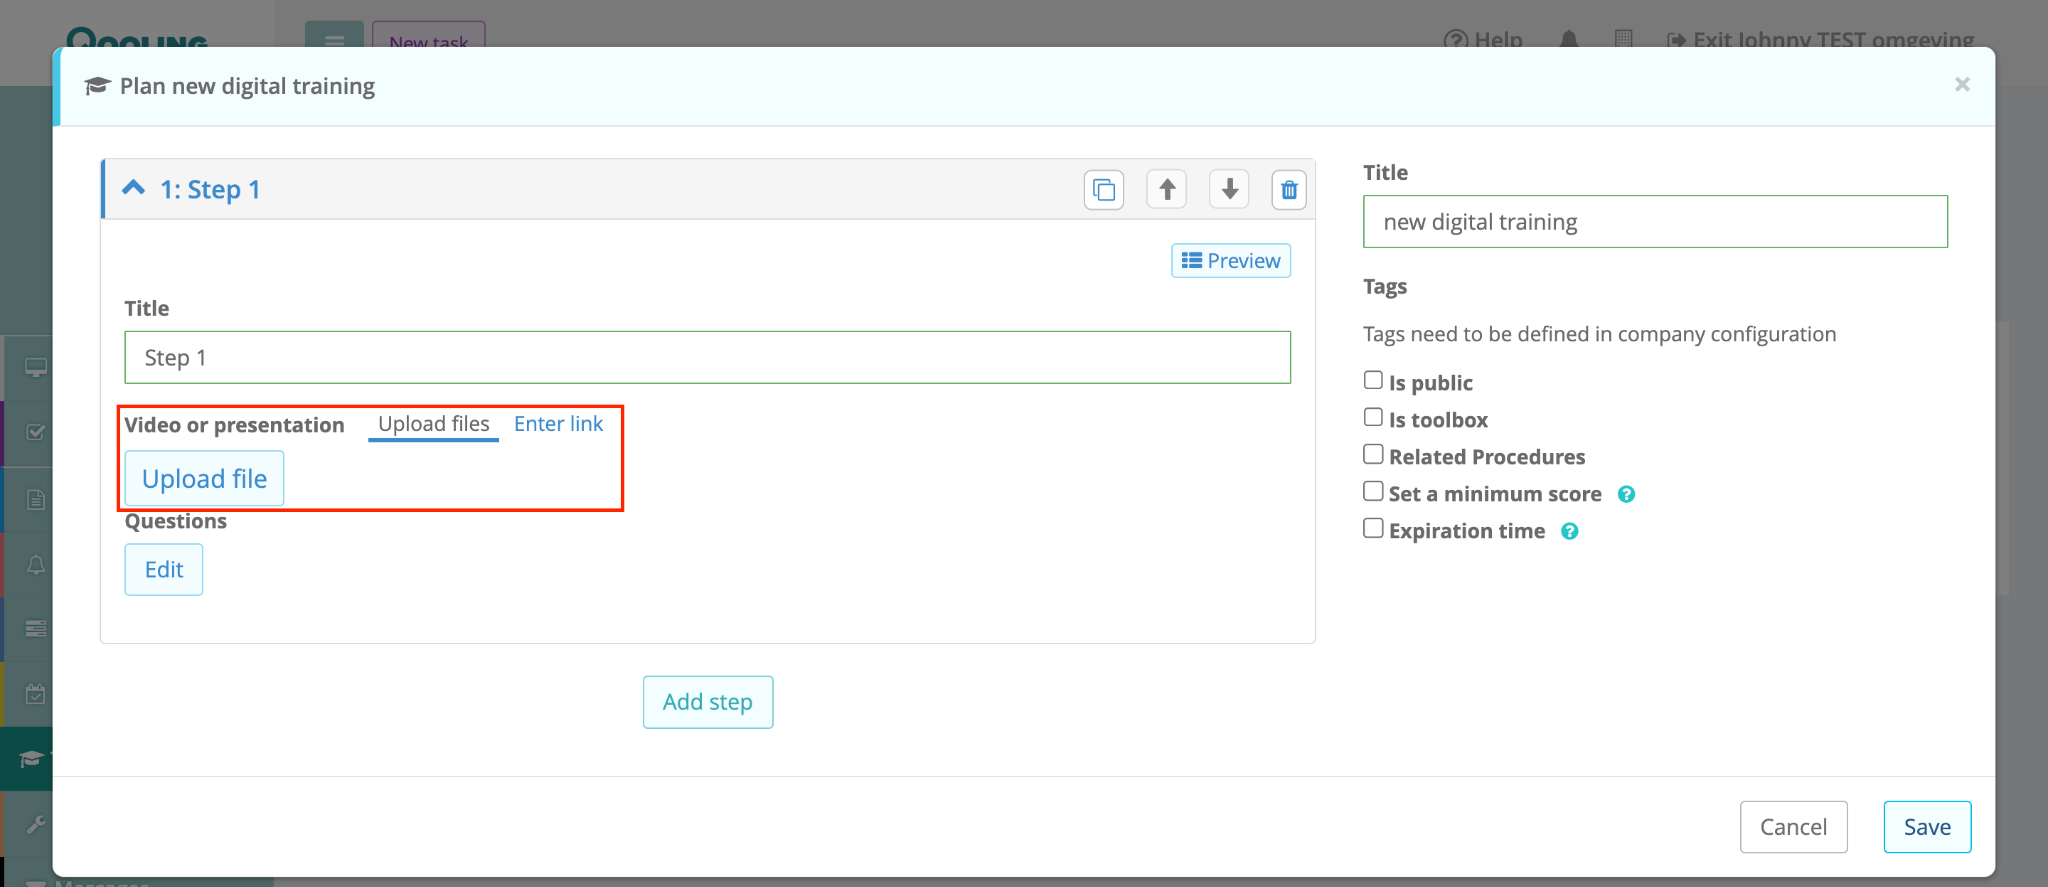
Expand a step (e.g., Step 1) to edit it.
Media: Choose to Upload files or Enter link (for YouTube or Vimeo) to provide the educational material.
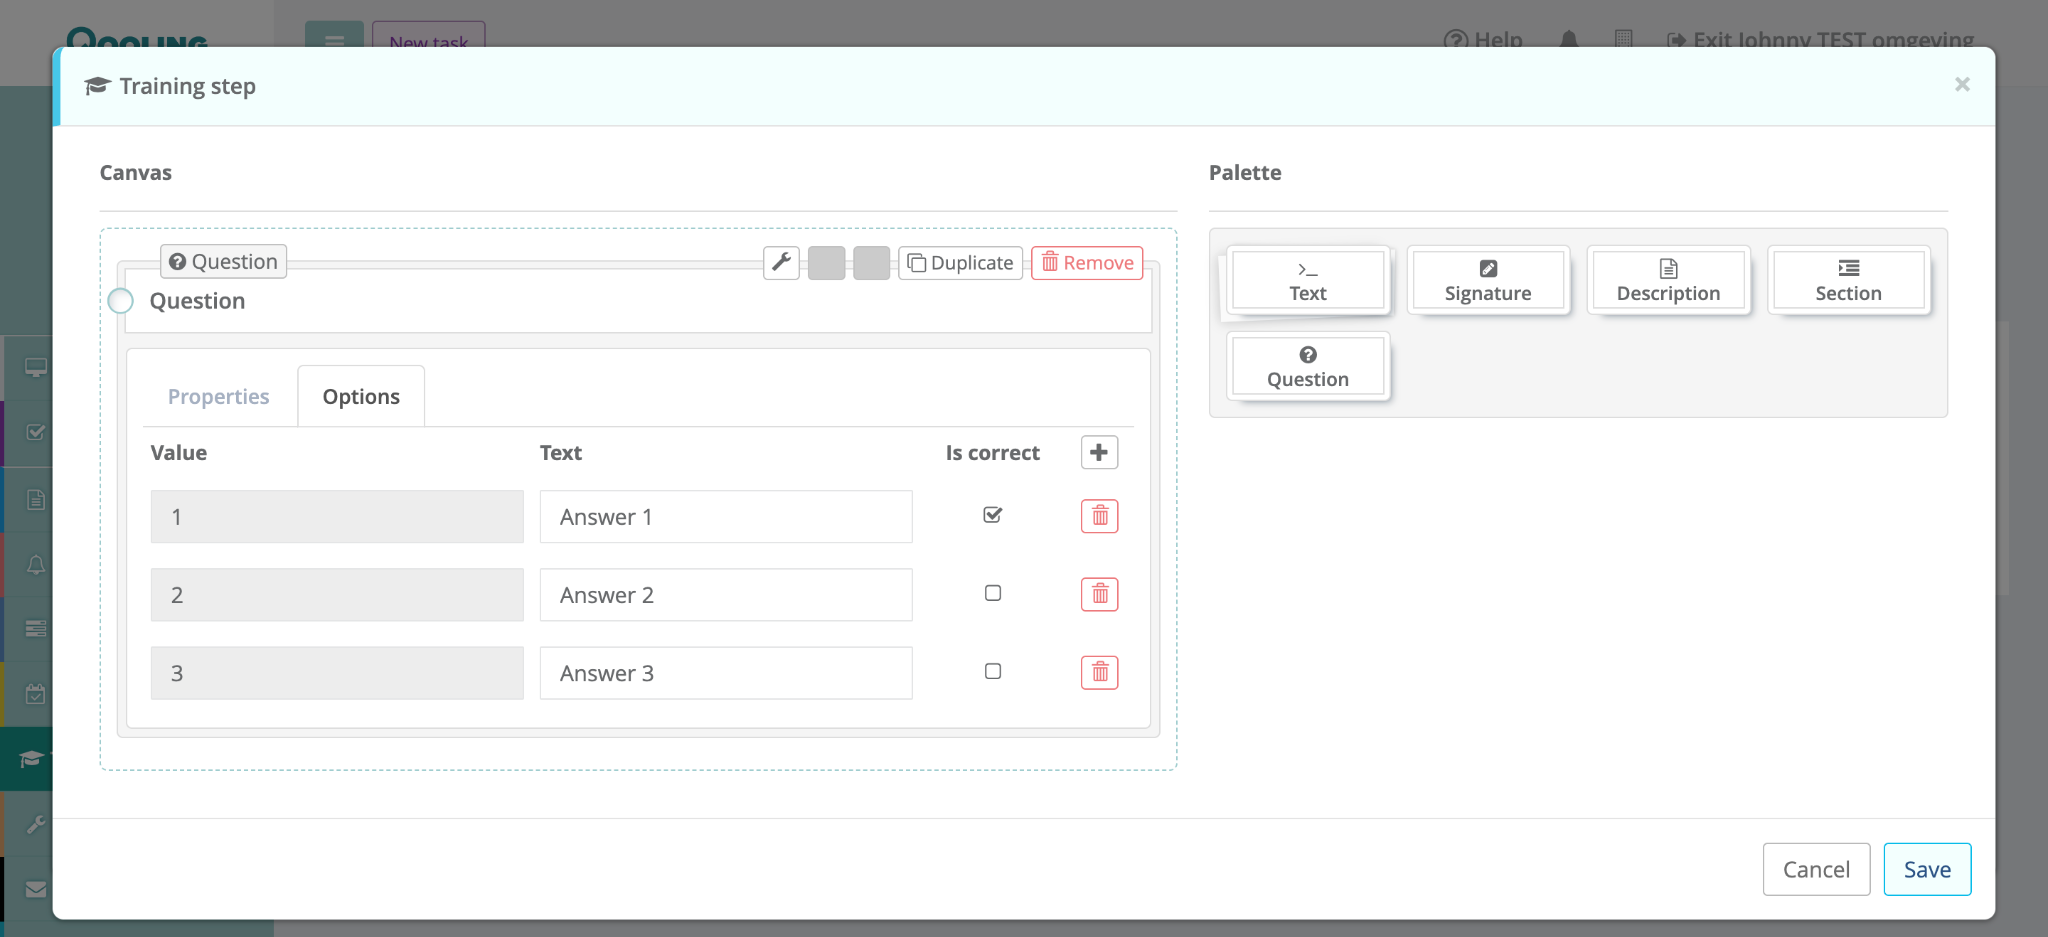
Questions: Click Open under the Questions header to create questions for the training.
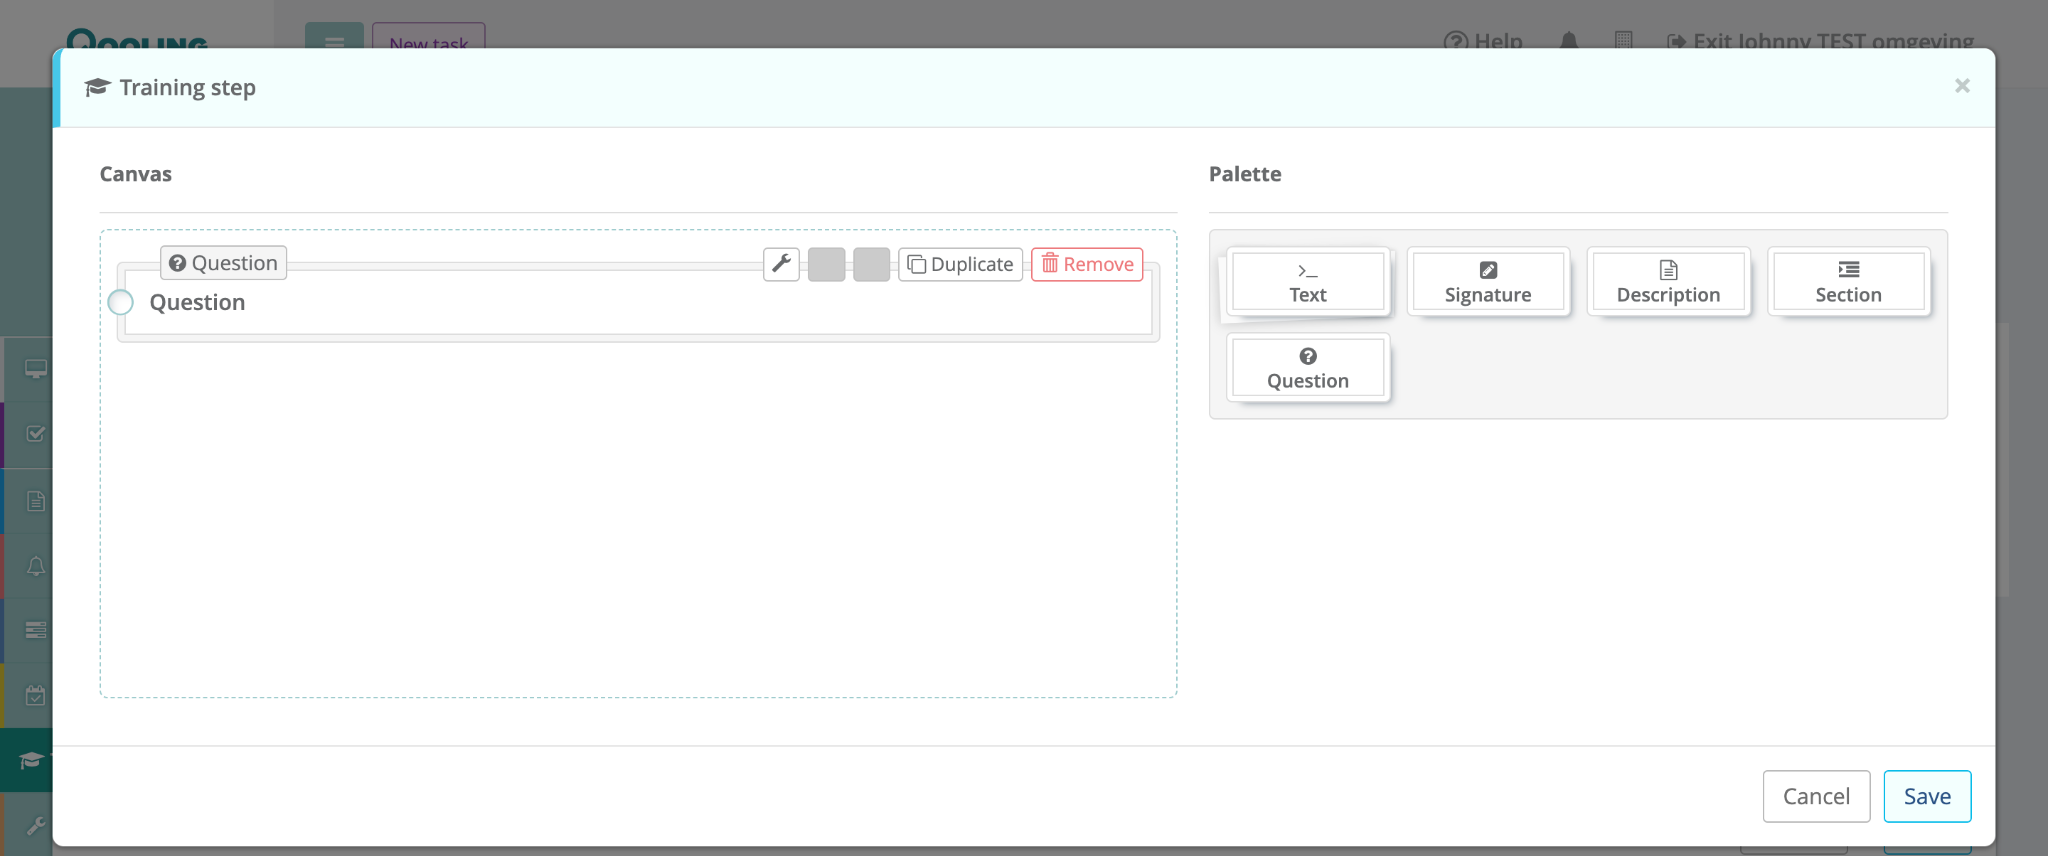
Drag a Question template from the palette onto the canvas.
In the Options tab, enter the possible answers and check the box Is correct for the right answer.
Click Save when you finished adding all the questions.
Step 5: Set Training Requirements
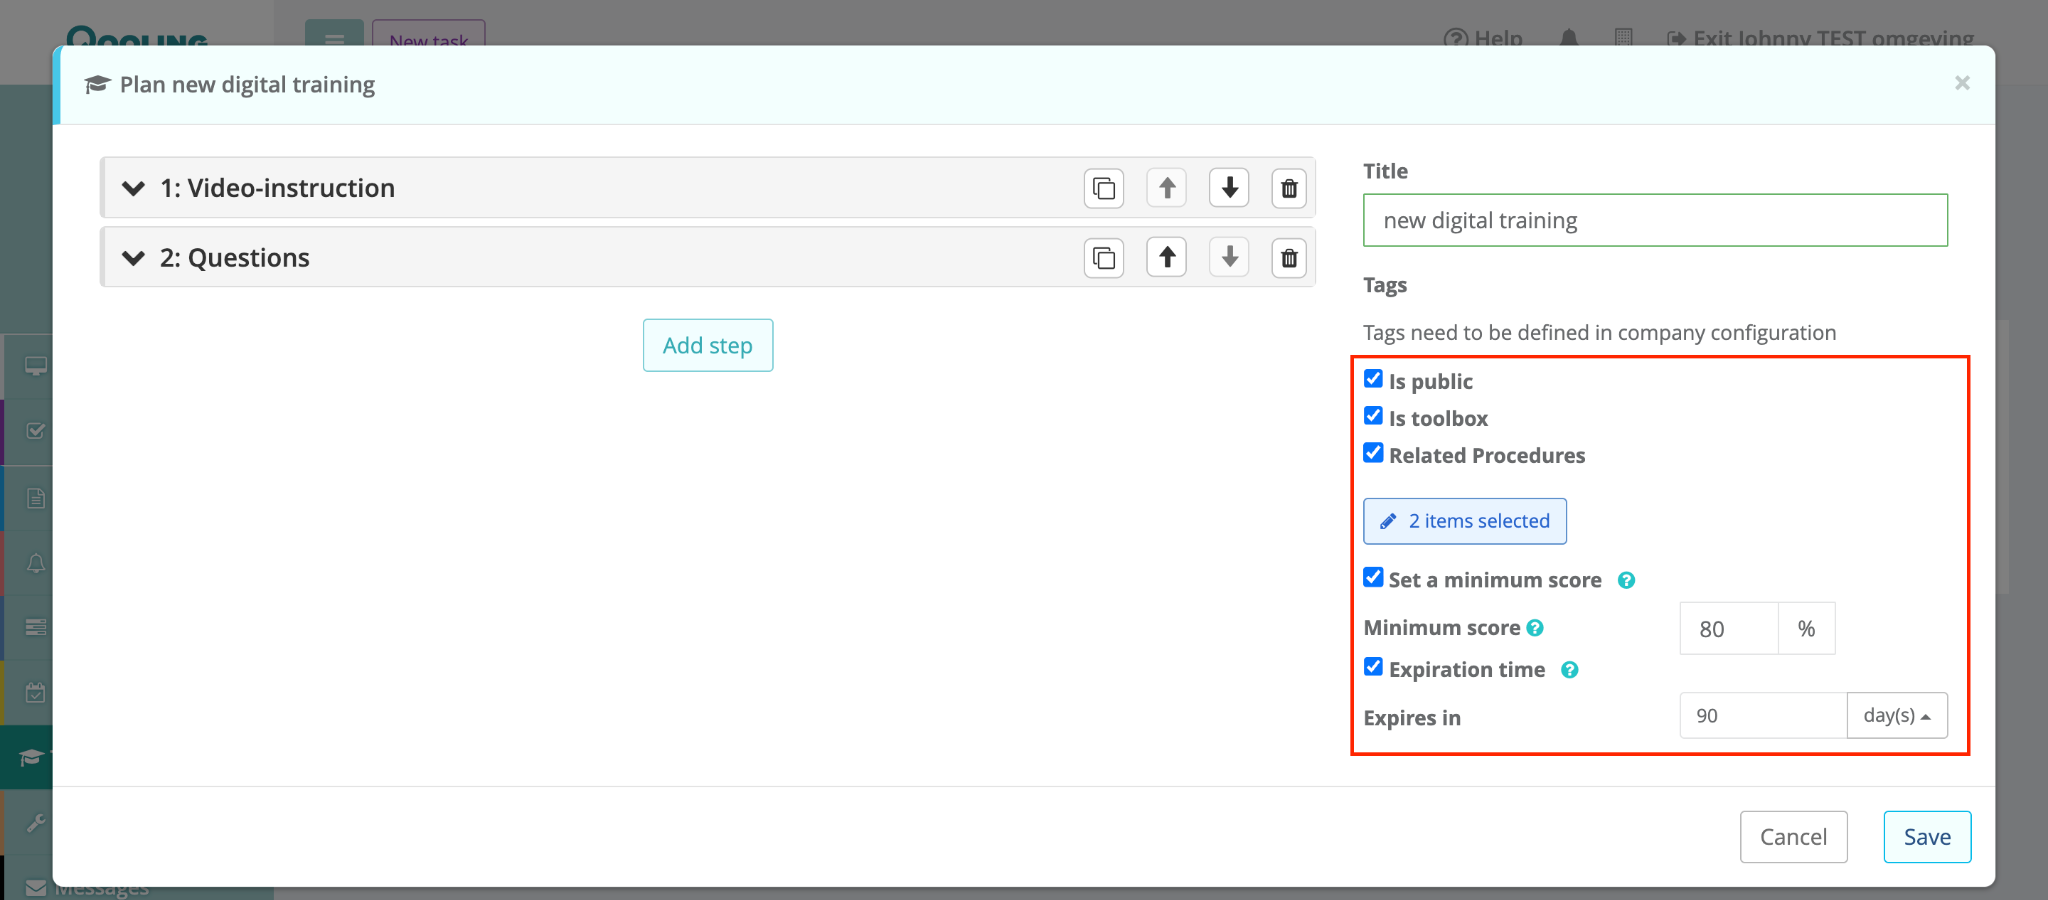
On the right side of the main window, configure the following settings:
Public/Toolbox: Check the boxes if the training should be public (to use the QR-code and public link) and if the training should be logged as a toolbox - meaning that the entries will be logged in the crosstables.
Related Procedures: Click the link to select existing company procedures that are relevant to this training.
Minimum Score: Enable this to set a passing grade (e.g., 80%).
Expiration Time: If an expiration period is set (for example, 90 days), the training completed by the user will automatically expire after that time. Once expired, the user can complete the training again.).
Step 6: Preview and Publish
Click the Preview button next to the training title to walkthrough the module as a user.
If everything looks correct, click the training title in the list and select Publish training.
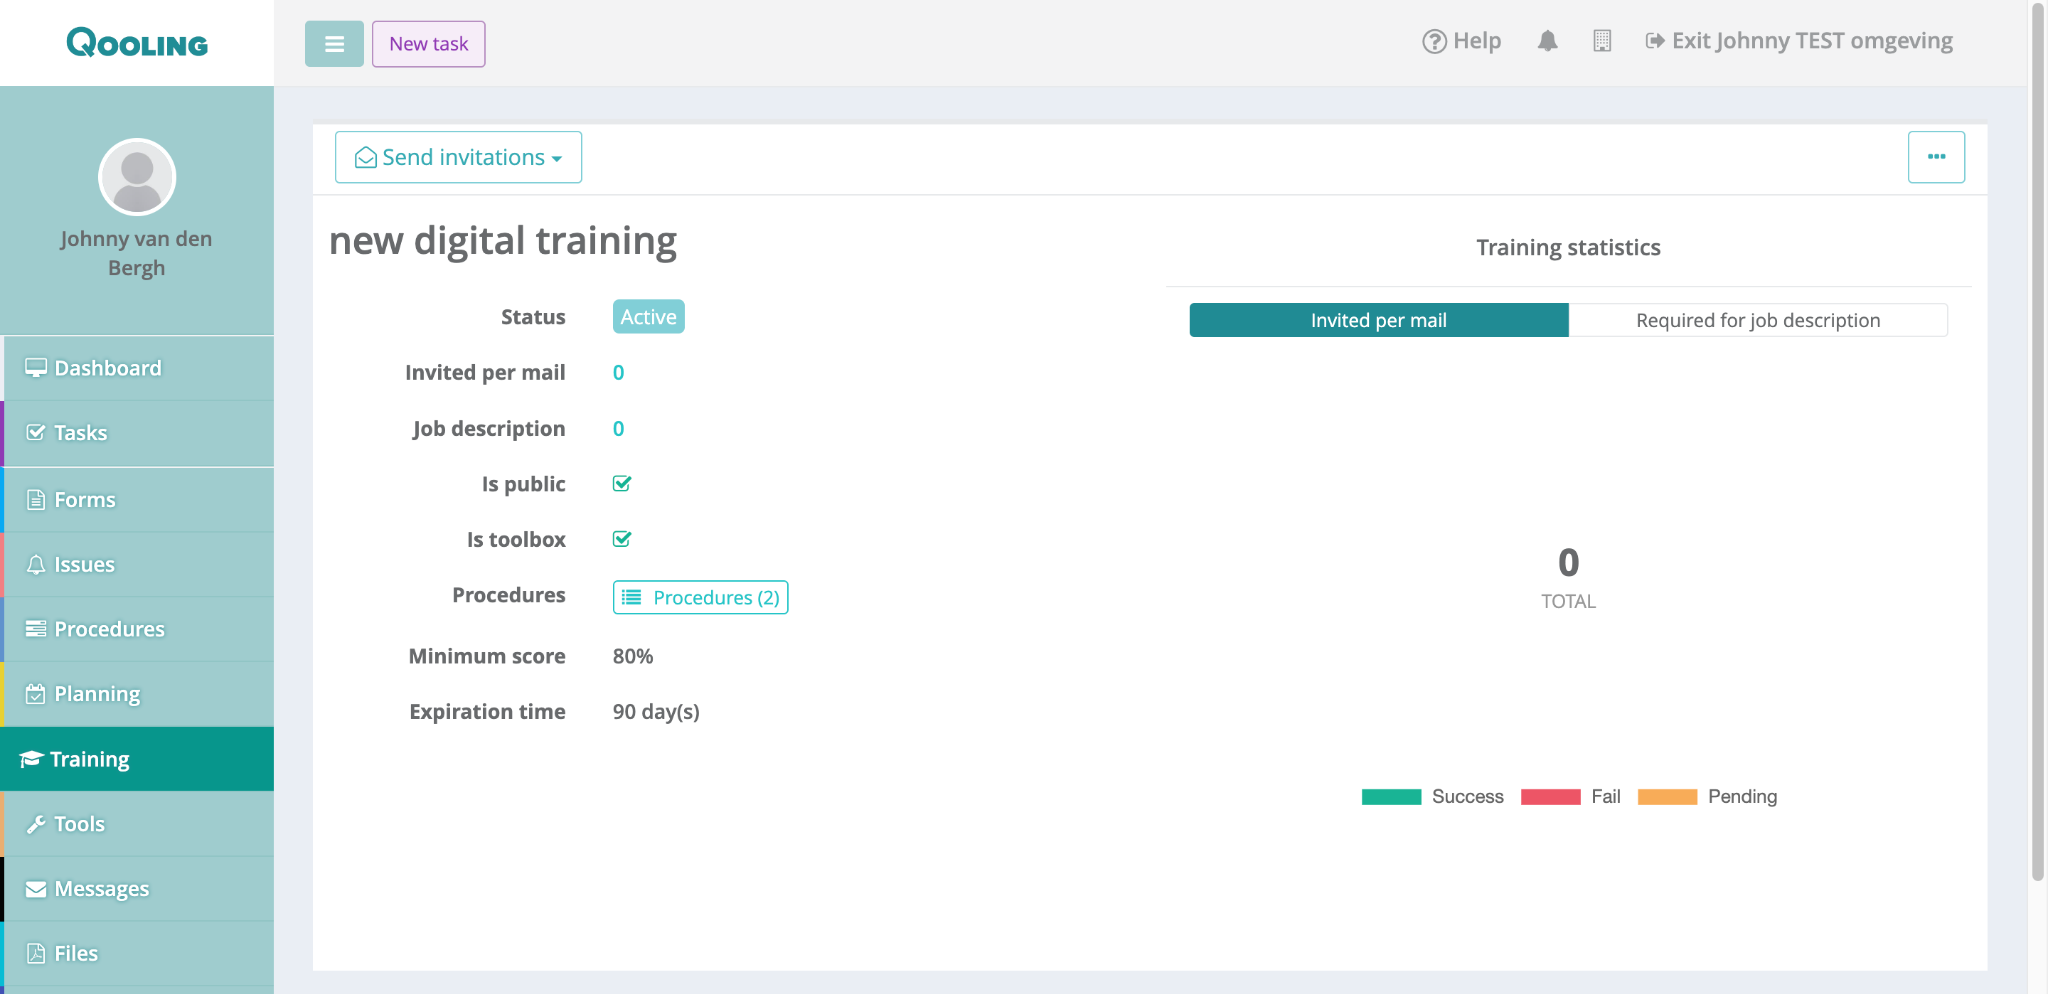
Confirm by clicking Yes in the pop-up. The status will change to Active.

Step 7: Invite Participants
Click the Send invitations button.
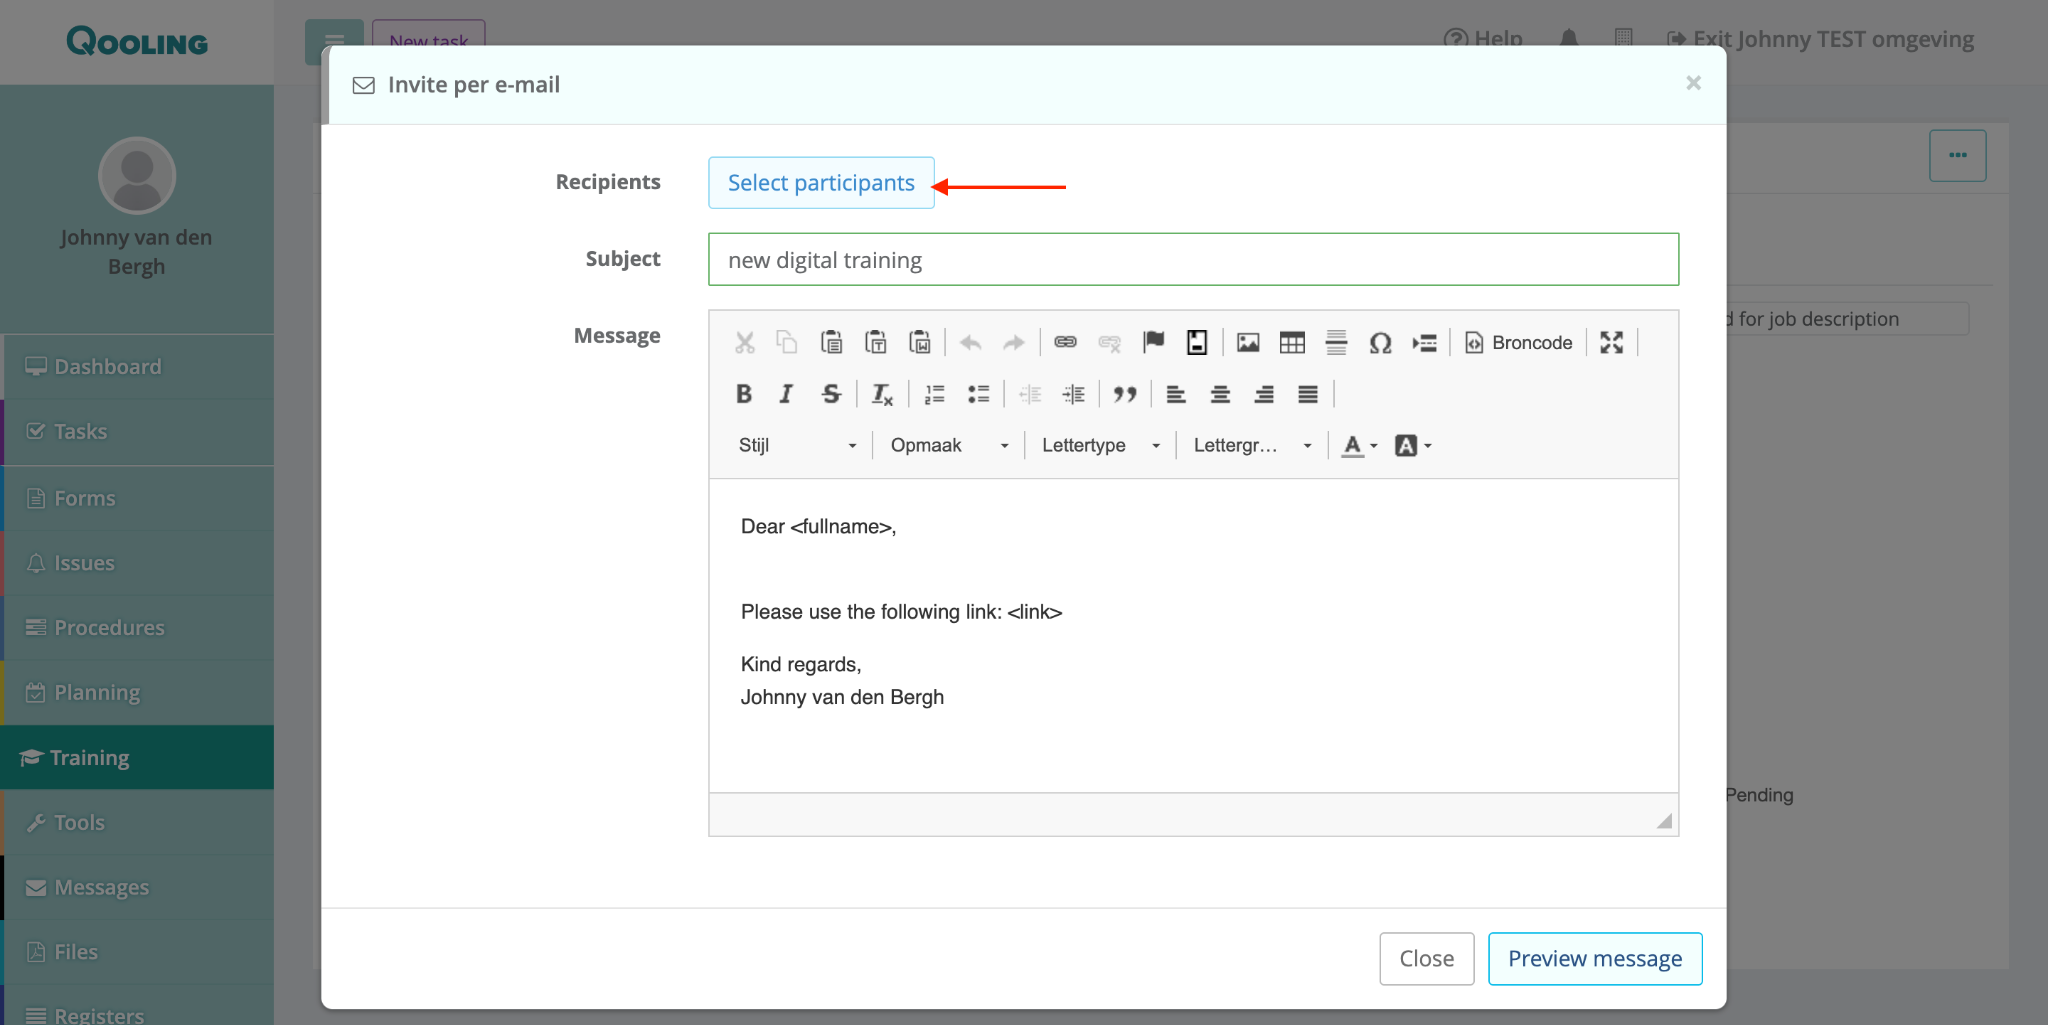
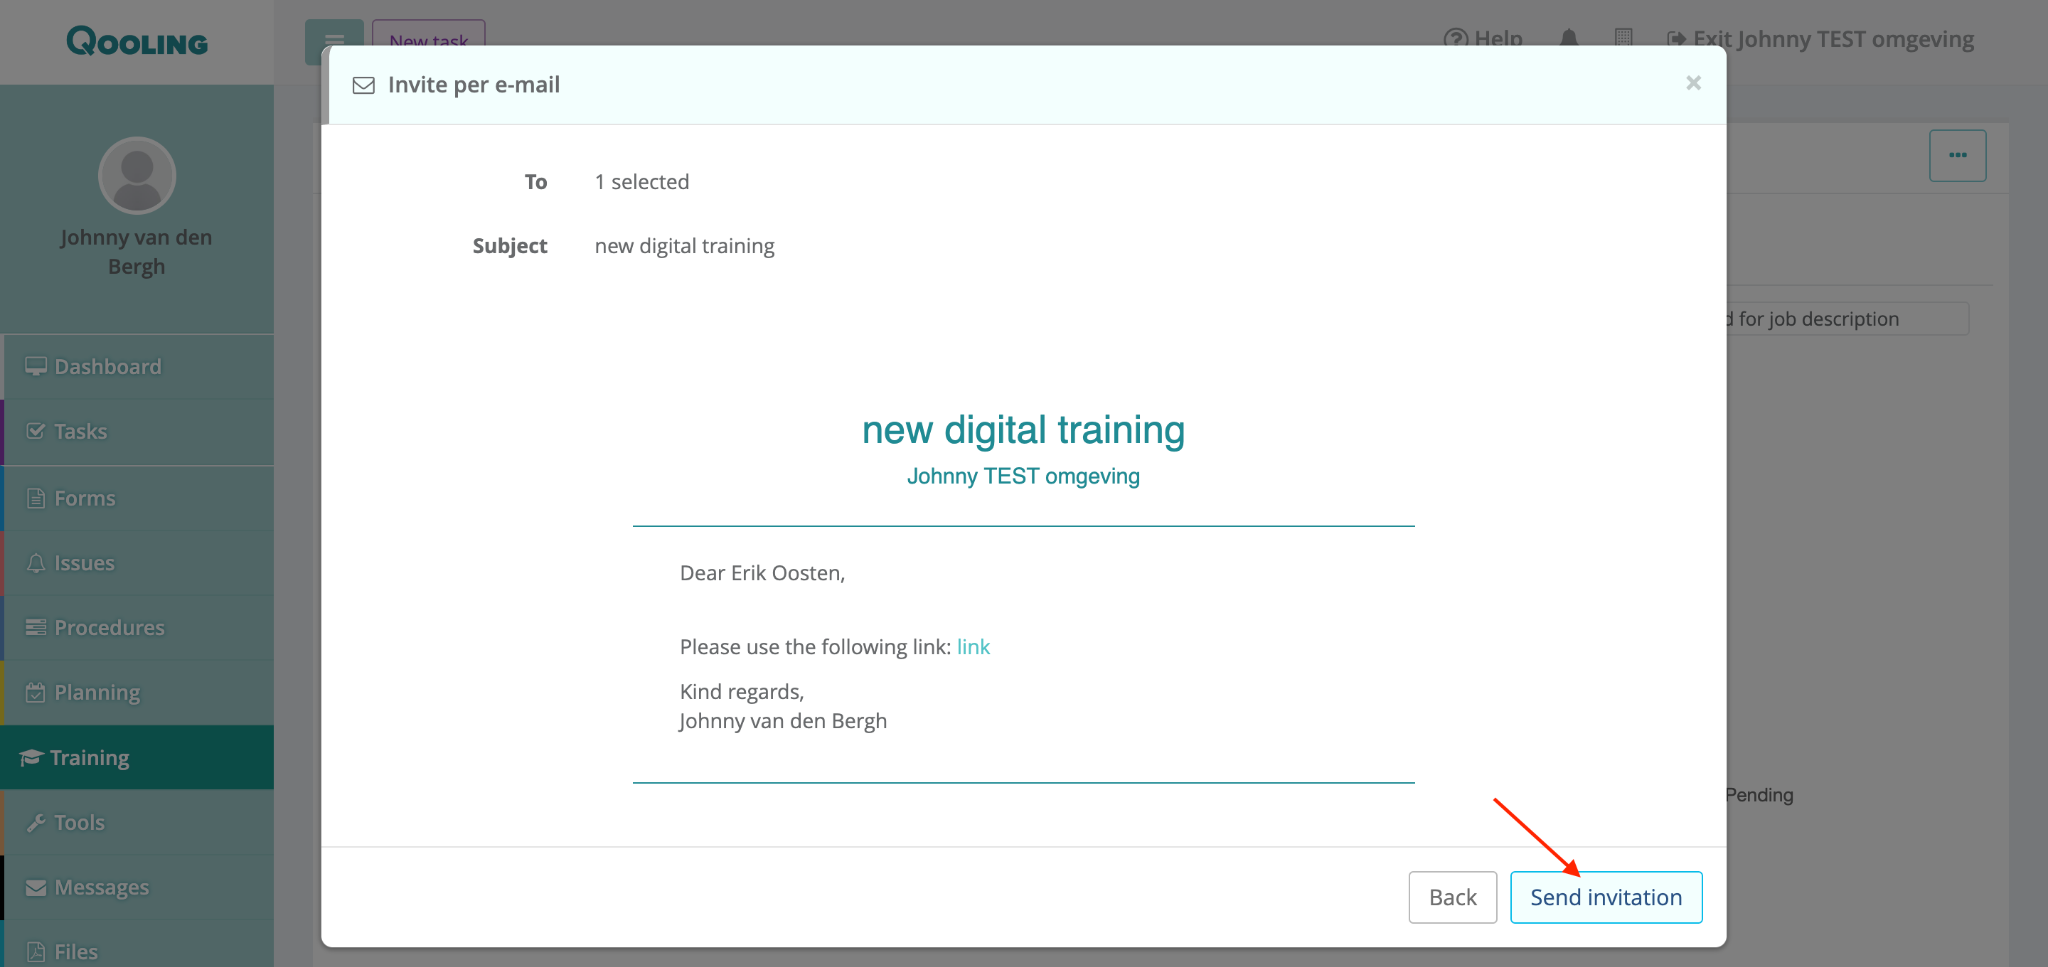
Select Per e-mail.
Click Select participants to choose specific users or groups.
Review the message and click Send invitation.
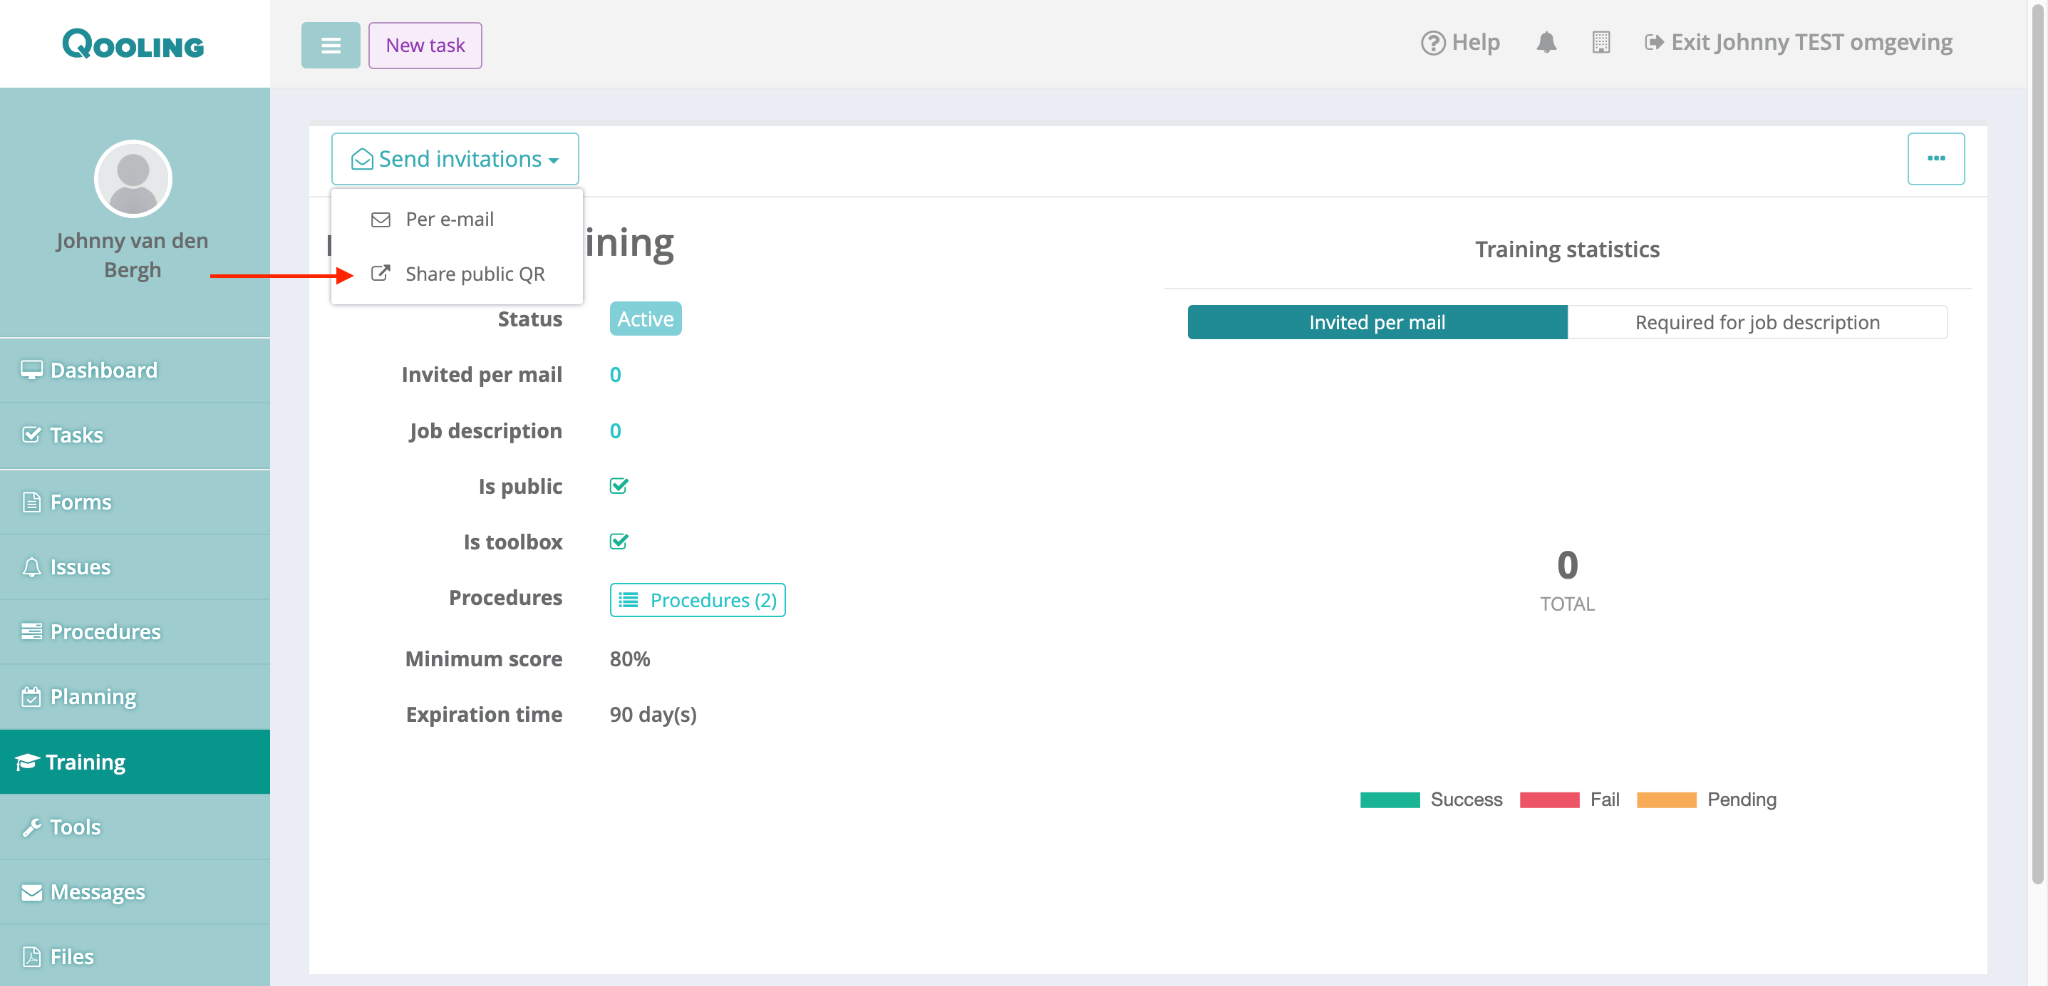
Or, click on Send invitation and select ‘Share public QR’.
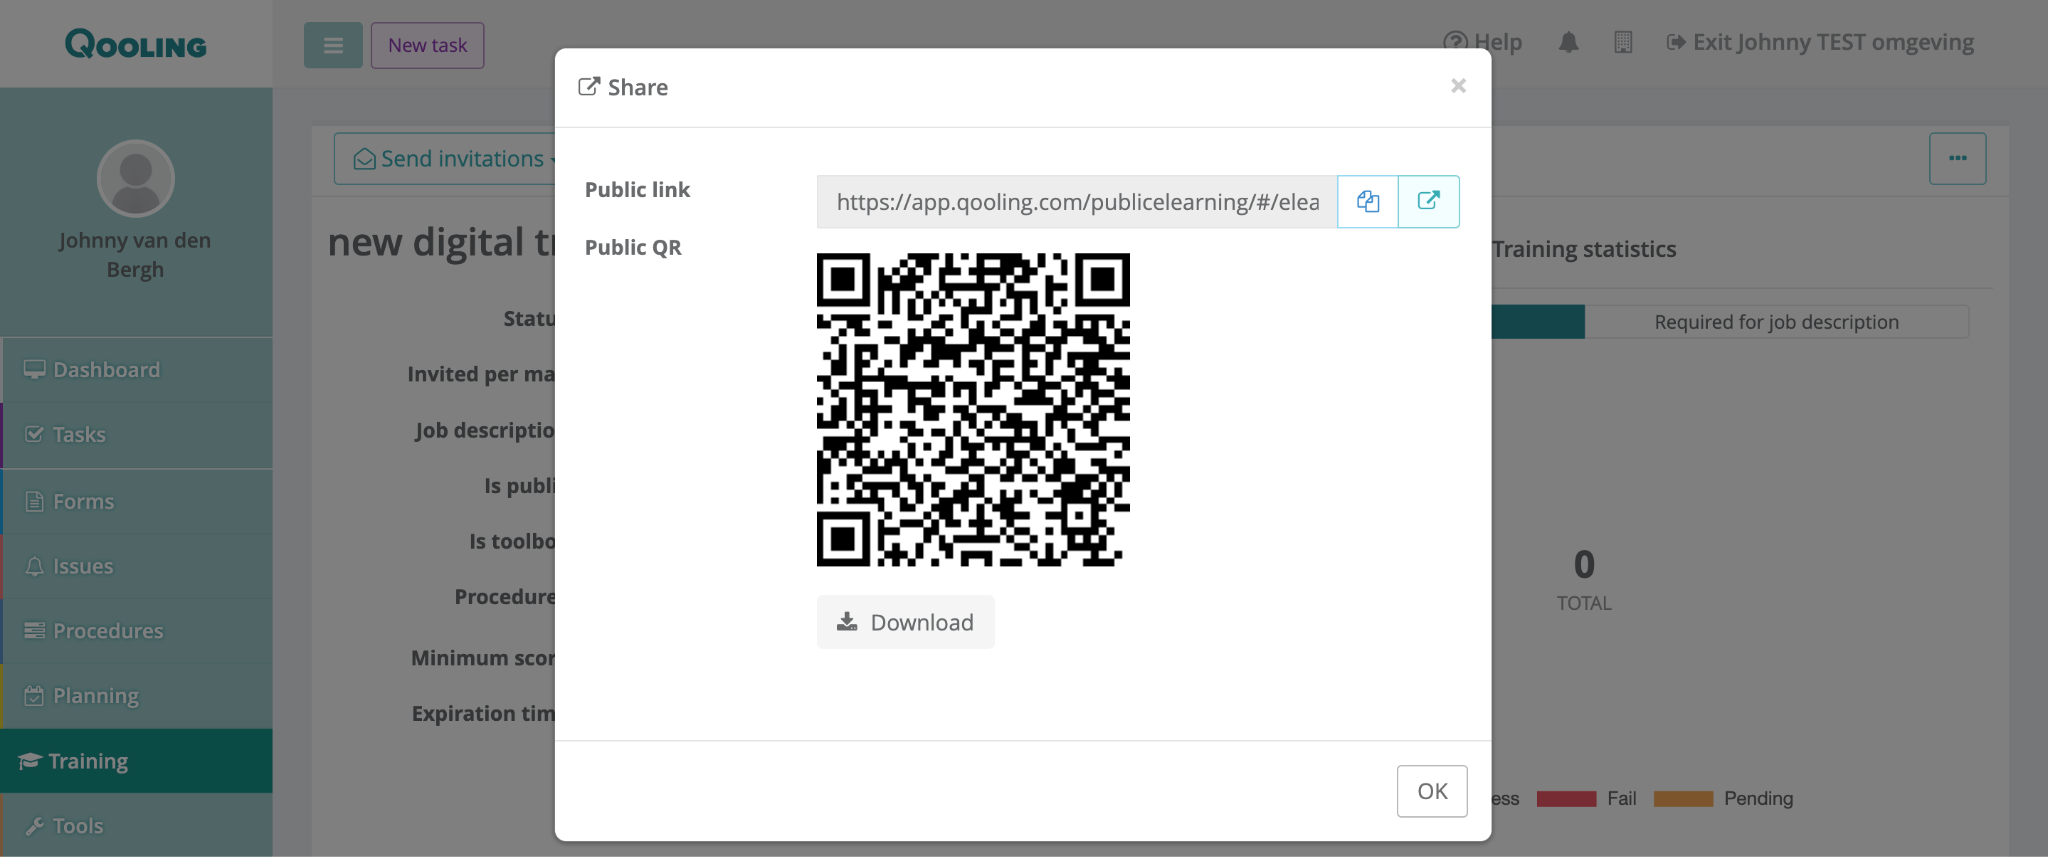
For non-Qooling users, share the public link or the QR code. You can also print the QR code for physical display.
Was this article helpful?
That’s Great!
Thank you for your feedback
Sorry! We couldn't be helpful
Thank you for your feedback
Feedback sent
We appreciate your effort and will try to fix the article